If you have a taste for the unconventional, enjoy do-it-yourself, or simply love arts and crafts, whip out that roll of duct tape and turn it into something useful. Even though gray duct tape was used you can use all sorts of colors! You can also put a chevron pattern or anything you want to this. It’s your wallet, so personalize it to your heart’s content!
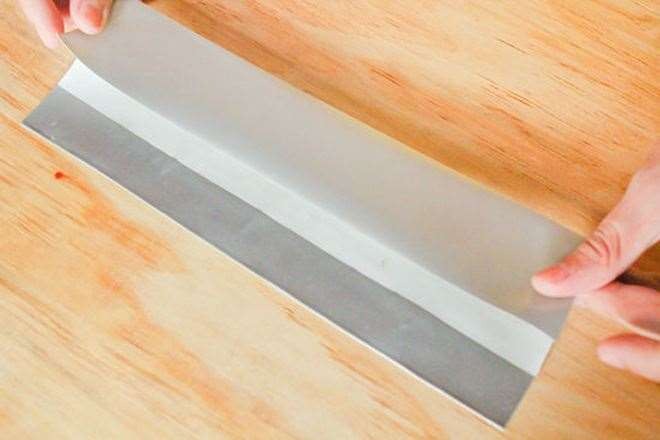
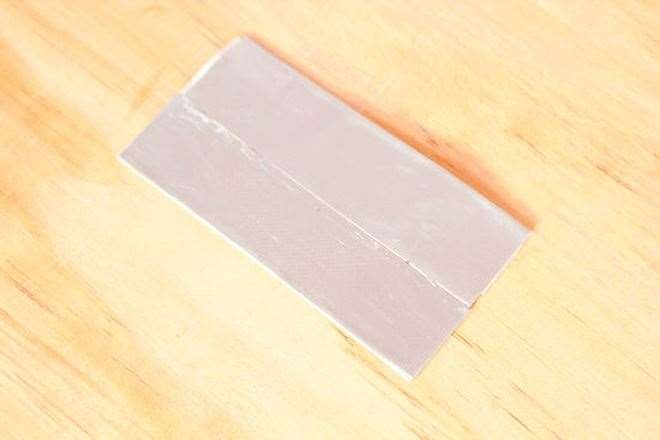
Step 1
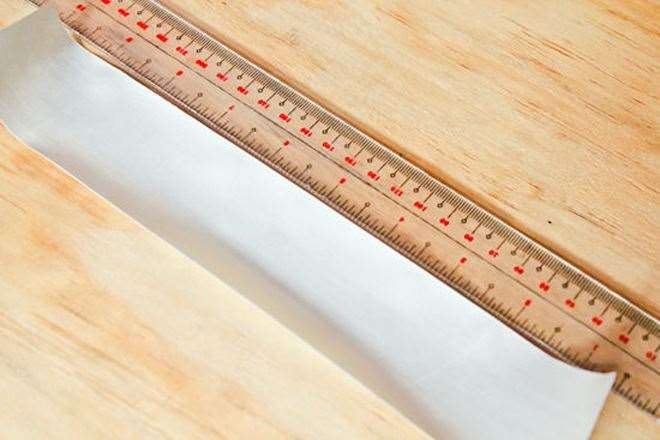
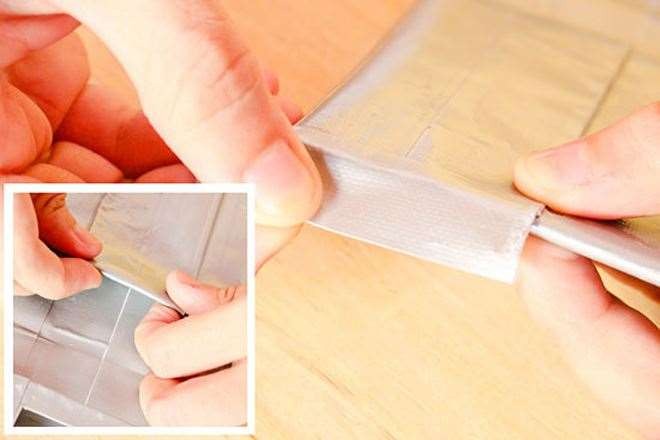
Cut a strip of duct tape 8.5 inches (22cm) in length and place it sticky-side up on a flat, stick-resistant surface. A cutting board or plastic craft board works well for this purpose.
Step 2
Cut a second piece of equal length and place it sticky-side down, covering half of the first piece lengthwise. The other half of this new piece will now be sticking to the flat surface.
Step 3
Fold the sticky part of the first strip down over the second.
Step 4
Flip the two strips over and place a third strip sticky-side down to cover the remaining sticky part of the second strip. Once again, the other half of this new piece will now be sticking to the flat surface.
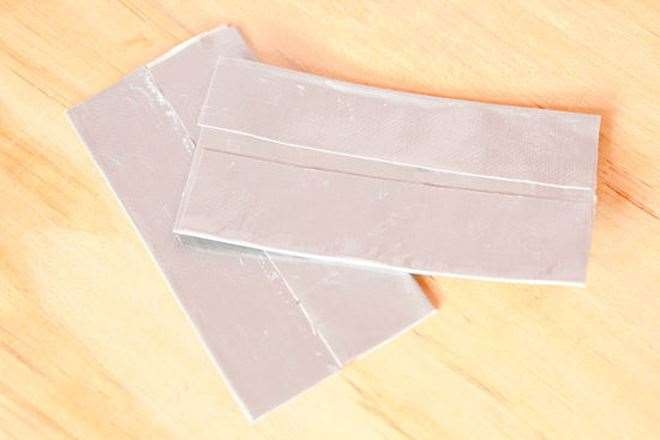
Step 5
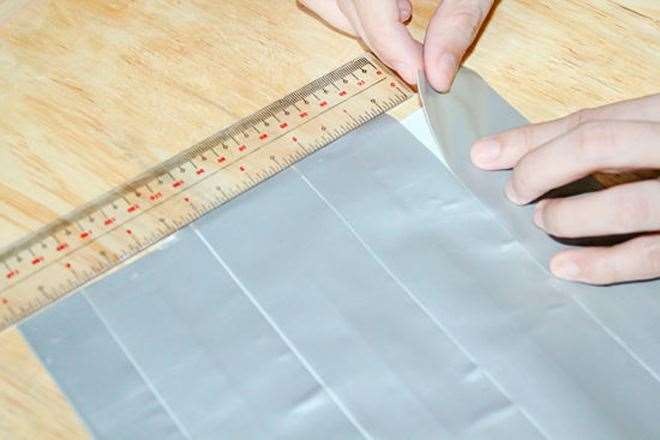
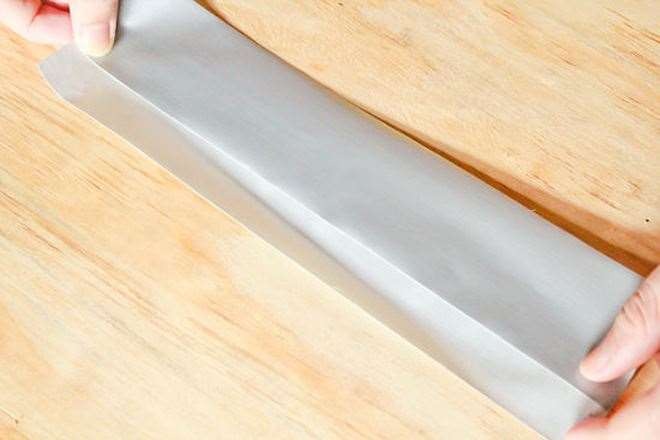
Continue flipping and extending the width of your duct-tape sheet until it measures at least 7 inches (18cm) from top to bottom not including the sticky edge.
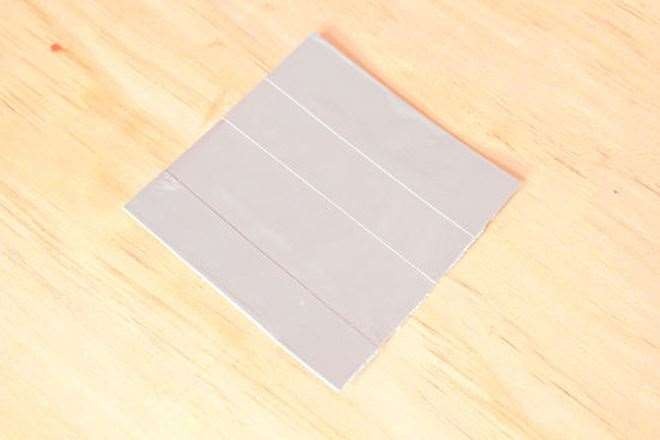
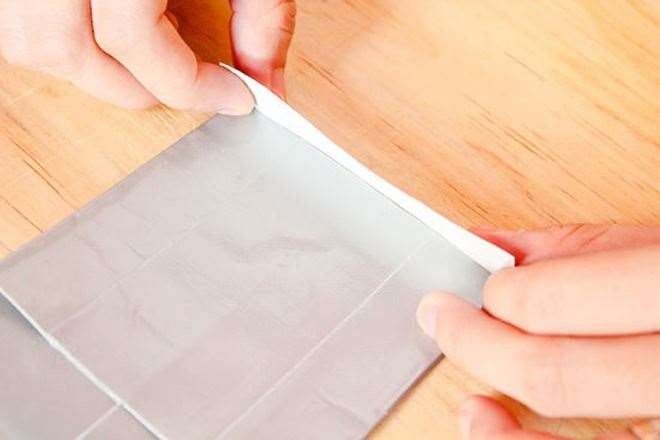
Step 6
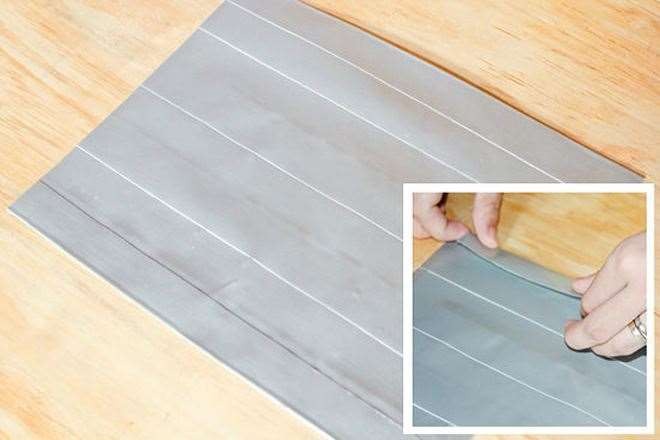
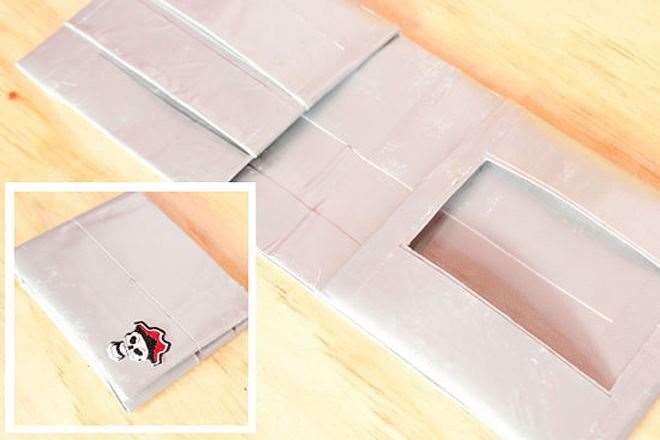
Fold the last sticky edge over and trim the edges so that the sheet is a rectangle of 7 by 8 inches (18 x 20cm). This will make your wallet approximately 3.5 inches (9cm) from top to bottom.
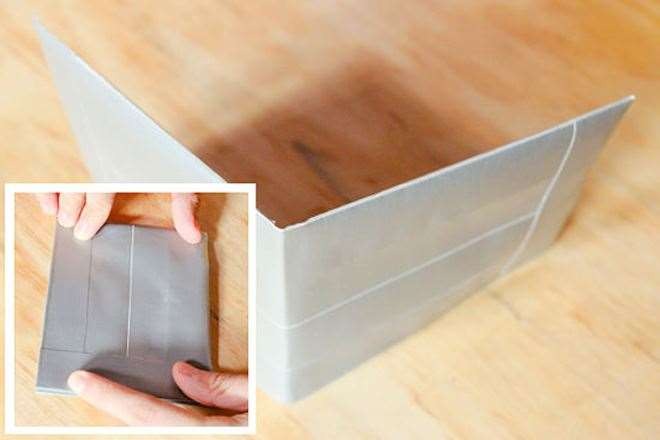
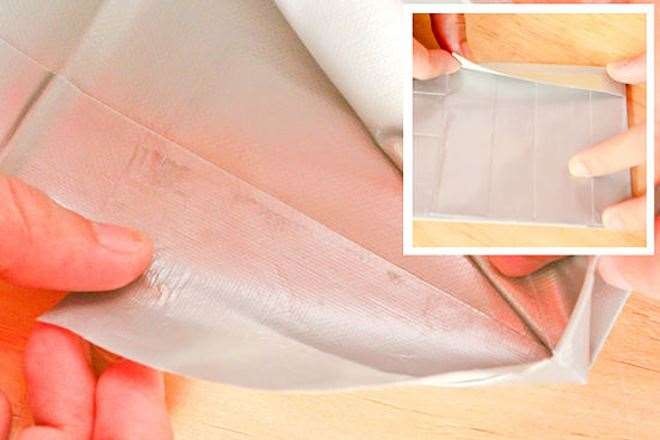
Step 7
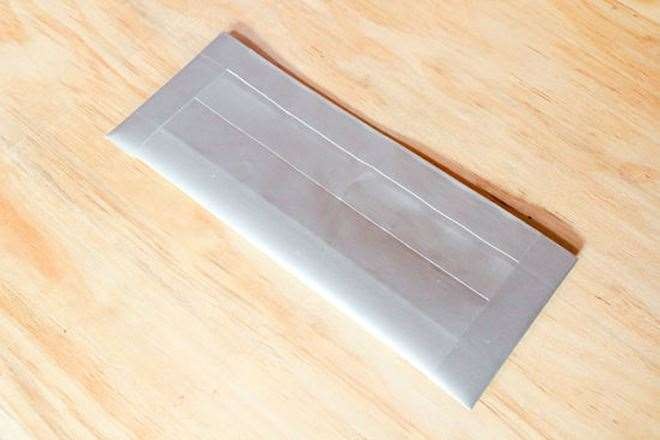
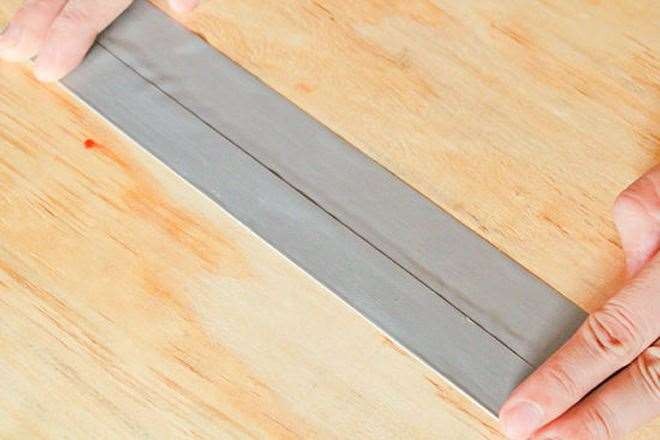
Fold the rectangle in half lengthwise and tape the two sides closed to create a large pocket. Your crease should run in the same direction as the lines of the tape. This pocket is where you will place your bills.
*For a shorter wallet that will more snugly fit skinny Australian bills, make your rectangle no smaller than 16 x 21cm.
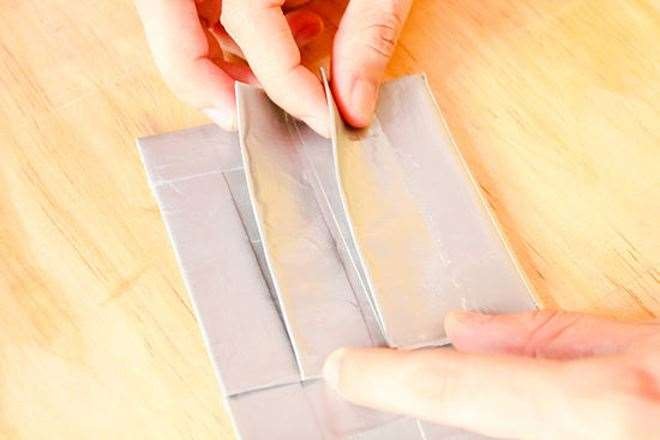
Step 8
Run your fingers or a blunt edge over the crease to make it more defined.
Internal Side Pockets (Optional)
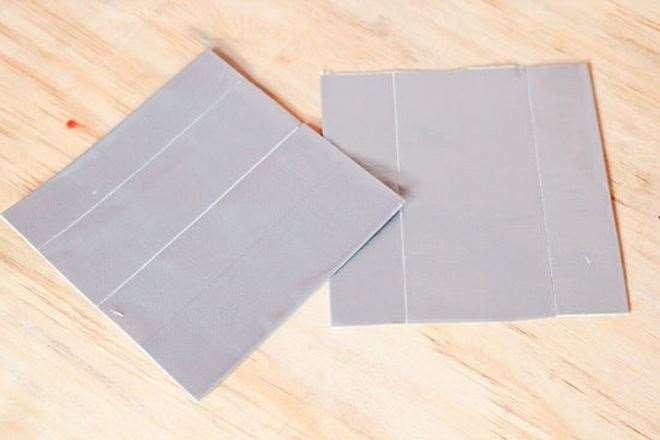
Step 1
Make another rectangular sheet measuring 3.5 by 3.75 inches (9 x 9.5cm). Use the flip-and-fold method (like you did to construct the body) to make a slightly oversized rectangle, then trim it down to size. This will later become an internal pocket with an opening facing the central crease of the wallet.
- Note that a side pocket is the same height as (but slightly narrower than) half of the wallet body. This is to ensure that the wallet can still fold in half once the side pocket is installed.
- If you modified the size of your wallet body, you will have to do the same with the side pocket. For example, if your wallet body is 3 inches high by 8 inches wide (7.5 x 20cm), make your side pocket 3 inches high by 3.75 inches wide (7.5 x 9.5cm).
Step 2
Repeat Step 1 to create a second side pocket. This will sit on the opposite side of the interior of the wallet, meaning its opening will face the opening of the other pocket.
Step 3
Tape the side pockets in place. With the wallet body unfolded in front of you, place each side pocket over one side of the fold so that the outermost sides and bottoms line up. Fold tape over the bottoms and the two outermost sides, taking care to leave the interior edges (where the openings will be) uncovered. To tape the tops, place a 3.75-inch (9.5cm) piece of tape along the top of the side flap, then fold it over the interior flap of the wallet body, making sure not to tape the opening of the wallet shut.
Internal card pockets (compatible with side pockets)
Step 1
Make another rectangular sheet measuring 1.5 by 3.75 inches (4 x 9.5cm). Use the flip-and-fold method (like you did to construct the body) to make a slightly oversized rectangle, then trim it down to size. This will later become a pocket in which to hold a card.
*Note that the card pocket is slightly narrower than half of the wallet body. This is to ensure that the wallet can still fold in half once the pocket is installed
Step 2
Create additional card pockets if necessary. It’s best not to make more than three per side or the wallet will become bulky.
Step 3
Tape the bottom of the first pocket to the bottom of one interior side of the wallet. Align it with the bottommost edge of either the left- or right-hand side and run a thin strip of tape over the edge to secure it to the wallet interior. Flip the pocket over and repeat on the interior edge so that the cards cannot force its way under that first strip of tape. Do not tape the sides just yet.
Step 4
Tape the bottoms of any additional pockets to the wallet interior, placing each pocket slightly higher than the one before it. This will allow you to see all your cards at the same time. Remember that each card flap is slightly shorter than the card it will hold, so be sure not to place your pockets so high that the cards jut out of the wallet.
Step 5
Tape the side edges of all the pockets. For a cleaner look, you may even want to place your pieces of tape so that they run from the interior crease outwards across the pockets, around the corners, over the front face of the wallet, and finally back around the pockets on the other side, leaving no visible breaks on the front of the wallet.
Step 6
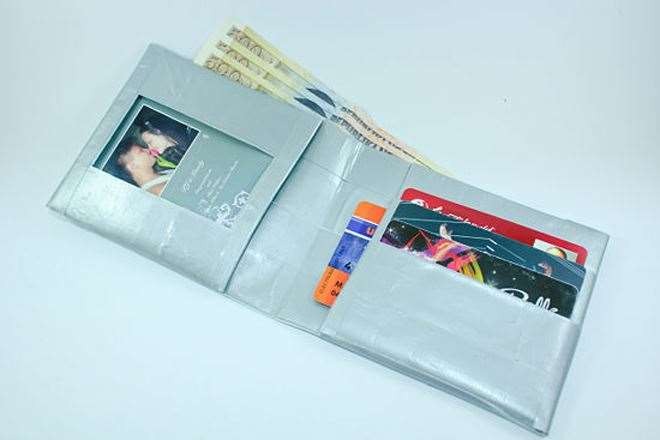
Put your money, ID, and other cards in your wallet. Alternatively, give the wallet as a gift or sell it.
You’re done!